First you will need some magnets!

This type of magnet is easily obtained at any craft store, usually under 10 dollars too. It's flexible and easy to cut with scissors. It comes rolled up in a mat and is intended for refrigerator art. It makes a great movement tray magnet since you can cut it to fit your trays.
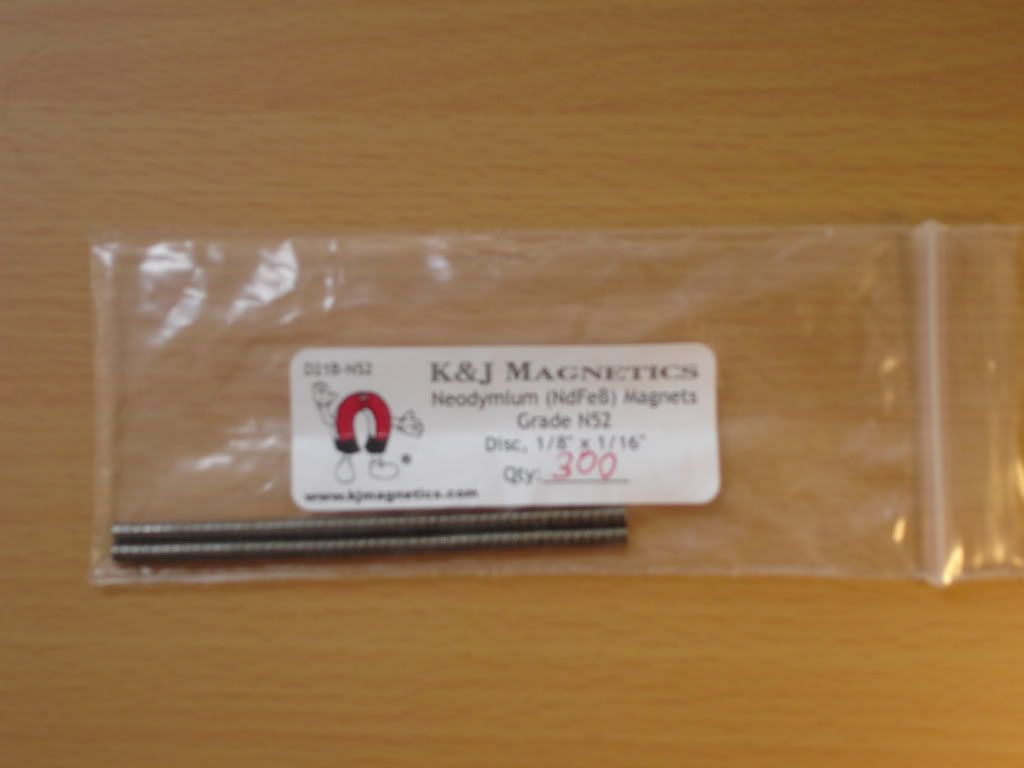
These rare earth magnets are available on the web through many different online stores. I bought mine from K&J Magnetics at the recommendation of a friend. I would also like to recommend them myself. These magnets are very strong and come in all shapes and sizes. They make great magnets to go under your miniature's base. They are also small enough to use for attachments to vehicle sized models.
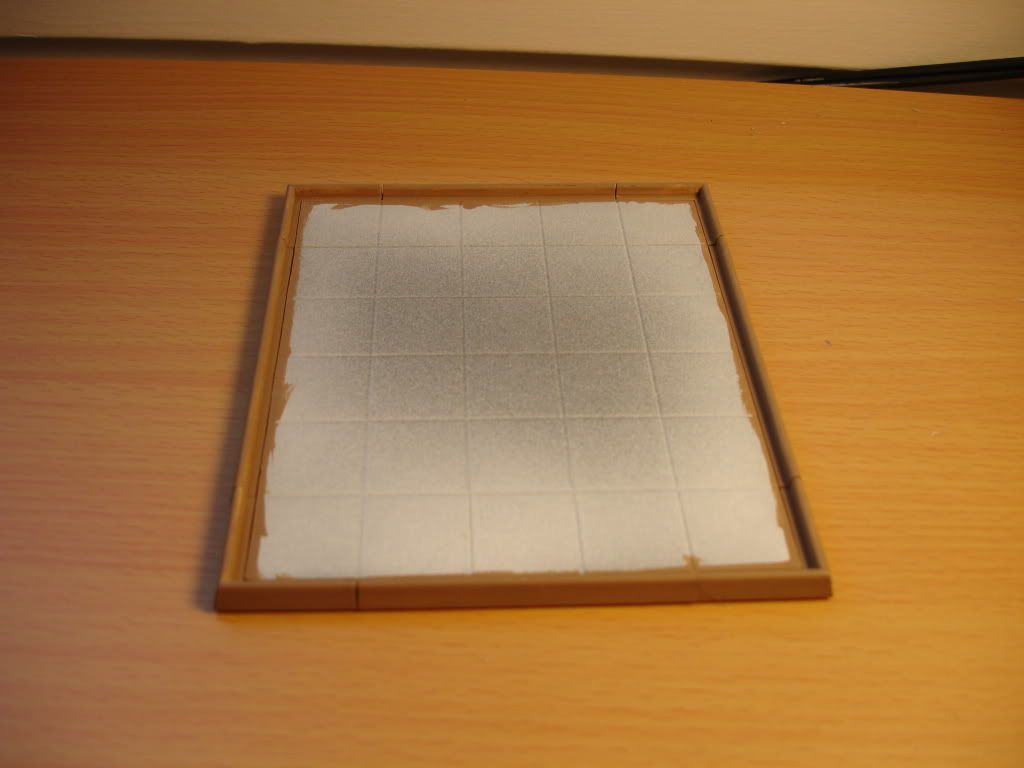
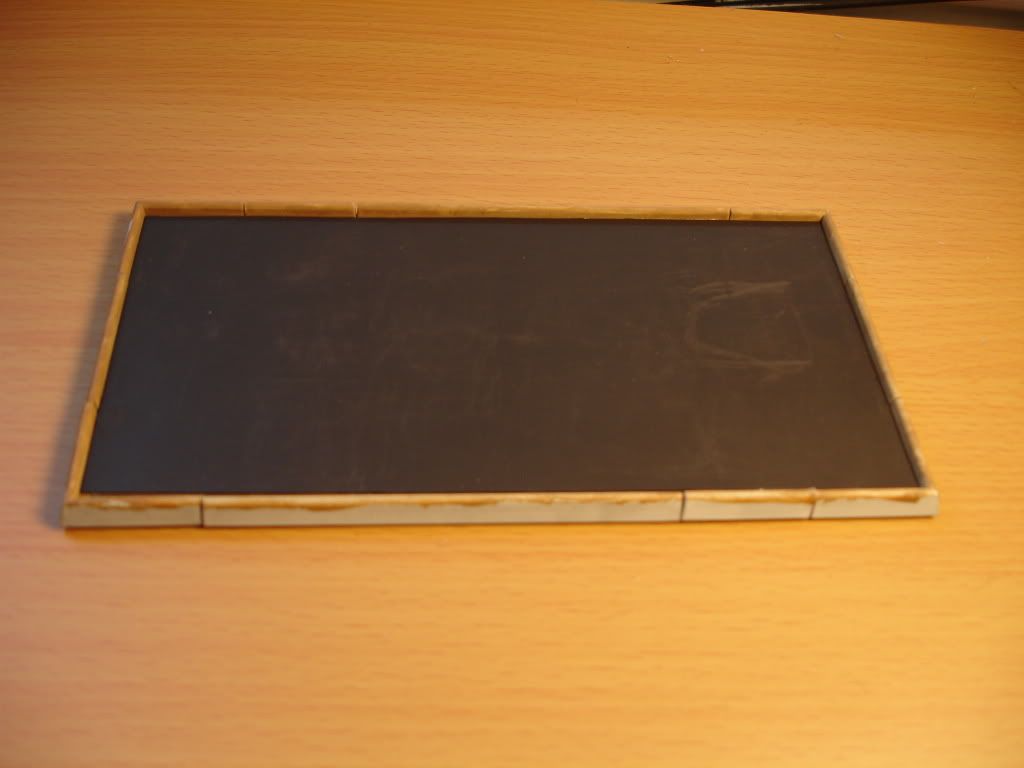 One of the many benefits of magnetizing your models comes from games like warhammer fantasy where you will use a large formation of plastic miniatures. They seem to get knocked over when bumped or shake and fall off of your movement tray while you are moving them around. Even a loose sleeve brushing the top of your unit while you grab your dice can disrupt the flow of a game. Here is how we fix the problem. Take your movement tray, primer and paint the edges how you will like them to look, then cut a piece of magnet to fit it. Spread some glue on the tray and set the magnet in. I like to use a large miniature base to flatten the magnet out while the glue is drying. Also, I find that using regular super glue works pretty well. Stay away from the elmers type glues, they take too long to dry and squeeze too much excess out from under the magnet. Another tip; make sure the magnet part is facing up.
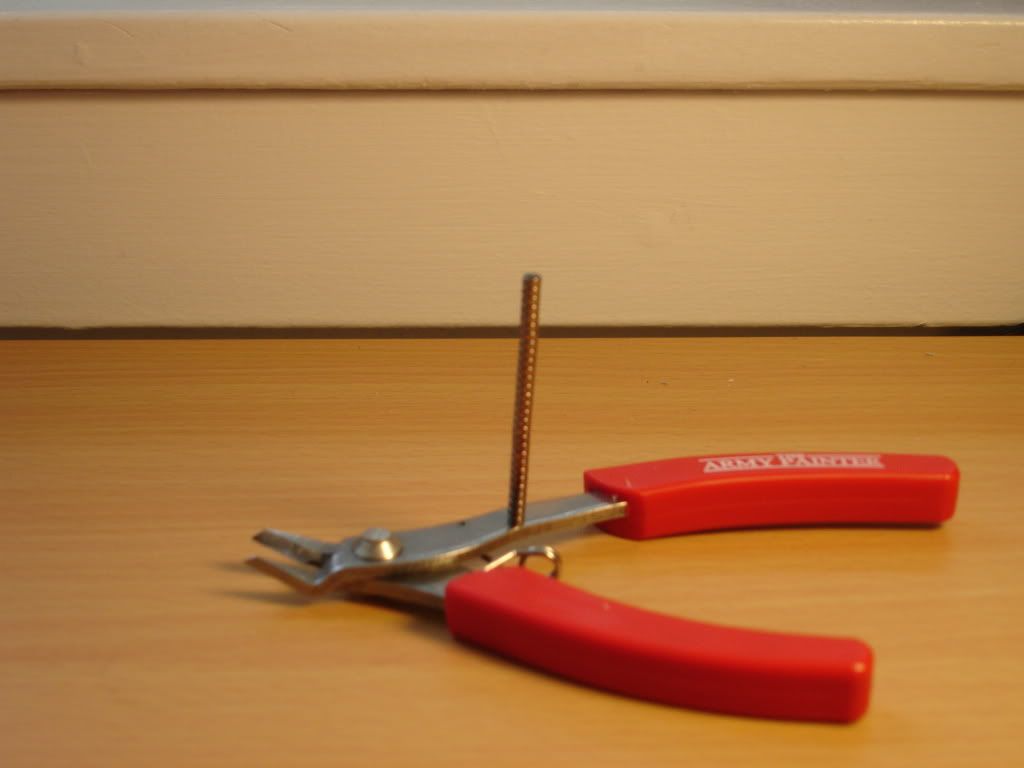
 Next we need some of our rare earth magnets, our miniatures and some greenstuff. Any modelling putty will probably work just fine, I used greenstuff with mine and it worked very well.

Here is the bottom of one of my rank and file miniatures. I started with a blob of greenstuff that I rolled into a long rope. From that rope I cut off a tiny amount and stick it to the bottom of the base. I then take one magnet off the top of the stack and stick it to the putty. From here I carefully press the miniature down on a flat clean non-metallic surface like this fake wooden desk you see in the picture. Pressing it down slowly doesn't warp the putty and flushes the magnet to the table top. I let mine dry like this, no glue needed.
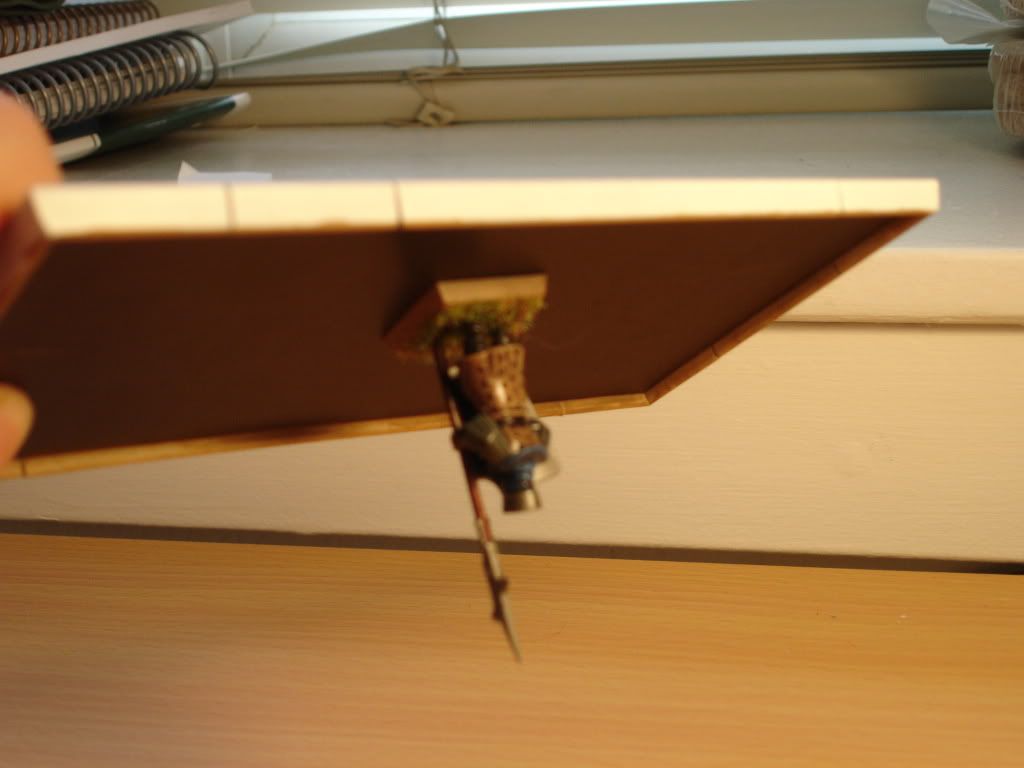
And there it is, strong enough to hold the miniature upside down. I've done this with many plastic infantry, metal infantry and some plastic cavalry. For the metal infantry one magnet is still enough to hold your figure in place on the tray and even hold it upside down if you don't shake. I would recommend two magnets, one on each corner if you intend to handle the tray roughly. For plastic cavalry I used two magnets on opposing corners to firm them up as the models are quite a bit larger than infantry.
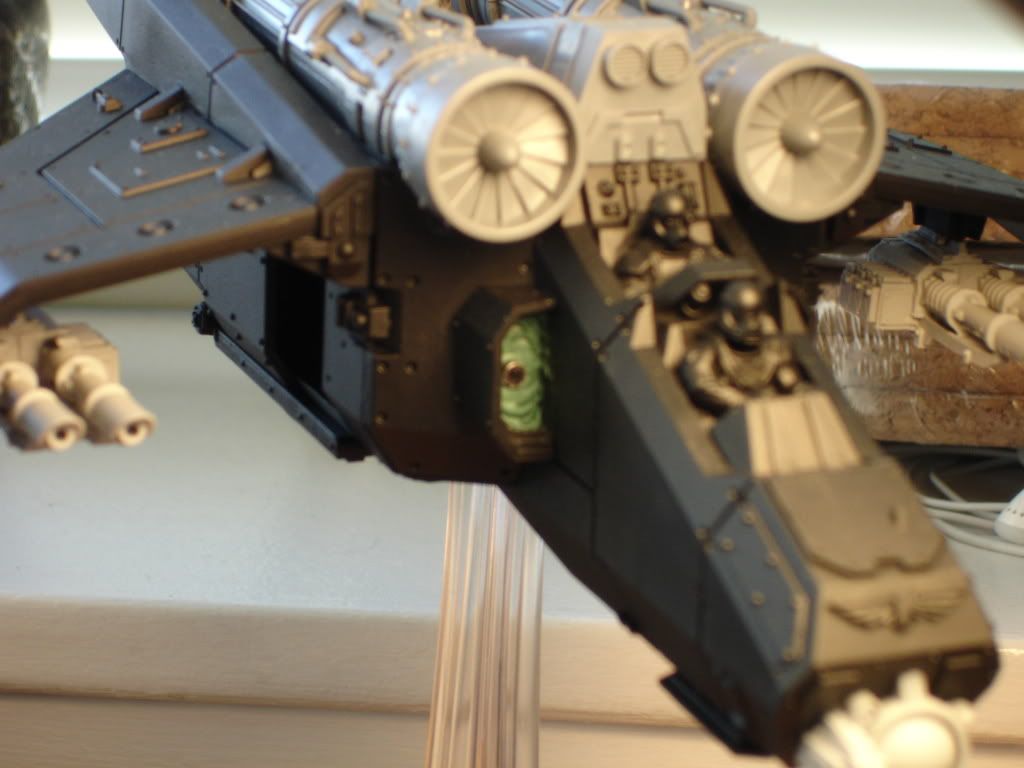
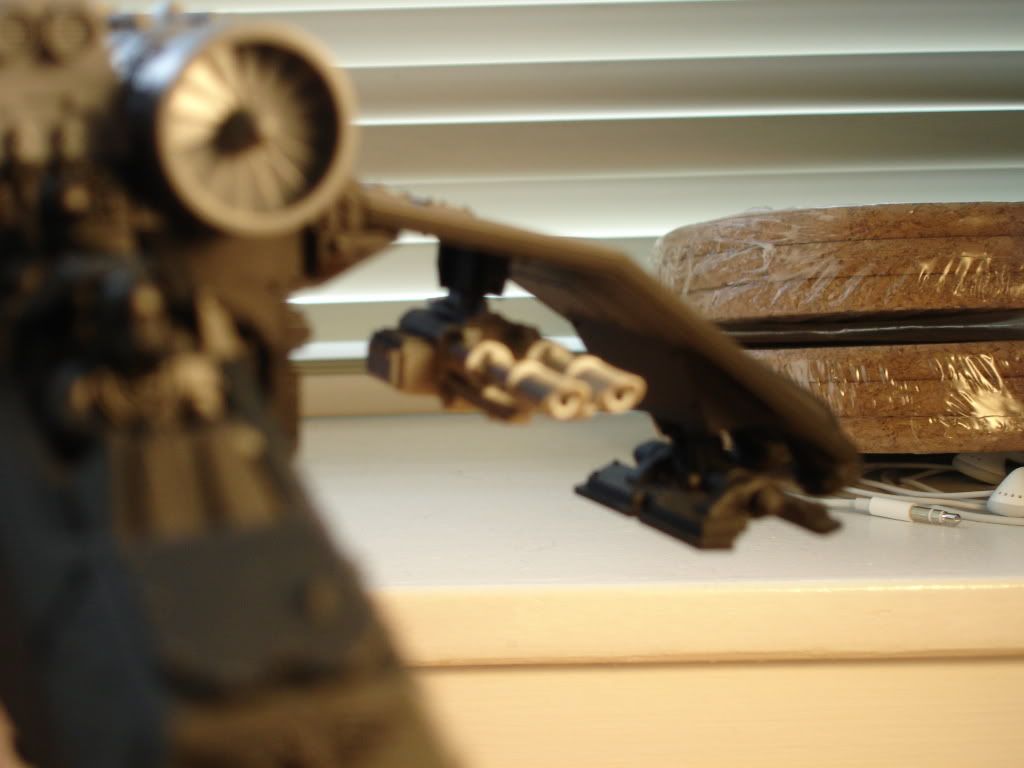
The next benefit of magnetizing your models is probably one of the best things you can do with your larger models. Making swappable parts. Bought a tank that comes with multiple different turrets? How about that valkyrie you bought that you wish was a vendetta? This will save you lots of money if you like to change your equipment a lot.


Some of the other ideas I have seen or heard of include making magnetic counters for various reasons. Perhaps you have some pretty cool spell counters specific to certain units (throne of vines anyone?), while the spell is active you have some cool thing stuck to part of the miniature. Or perhaps you are using a multiple wound model and hate having to keep a dice next to it at all times. You can magnetize some counters to keep track of the number of wounds it has remaining. If these are cleverly tied into it's base then all the better. Just make sure your opponent can easily see how many counters are left. Another idea was for transportation of your armies. Take something like a metal filing cabinet drawer and stick your figures all to the walls. As long as you don't drop the box and keep your metal figures on the bottom they should be perfectly fine when you get to your destination. That is all for now, hope this helps.
No comments:
Post a Comment