"Military tactics, the art of organizing an army, are the techniques for using weapons or military units in combination for engaging and defeating an enemy in battle." (Carl *Clausewitz: On War, 1832)
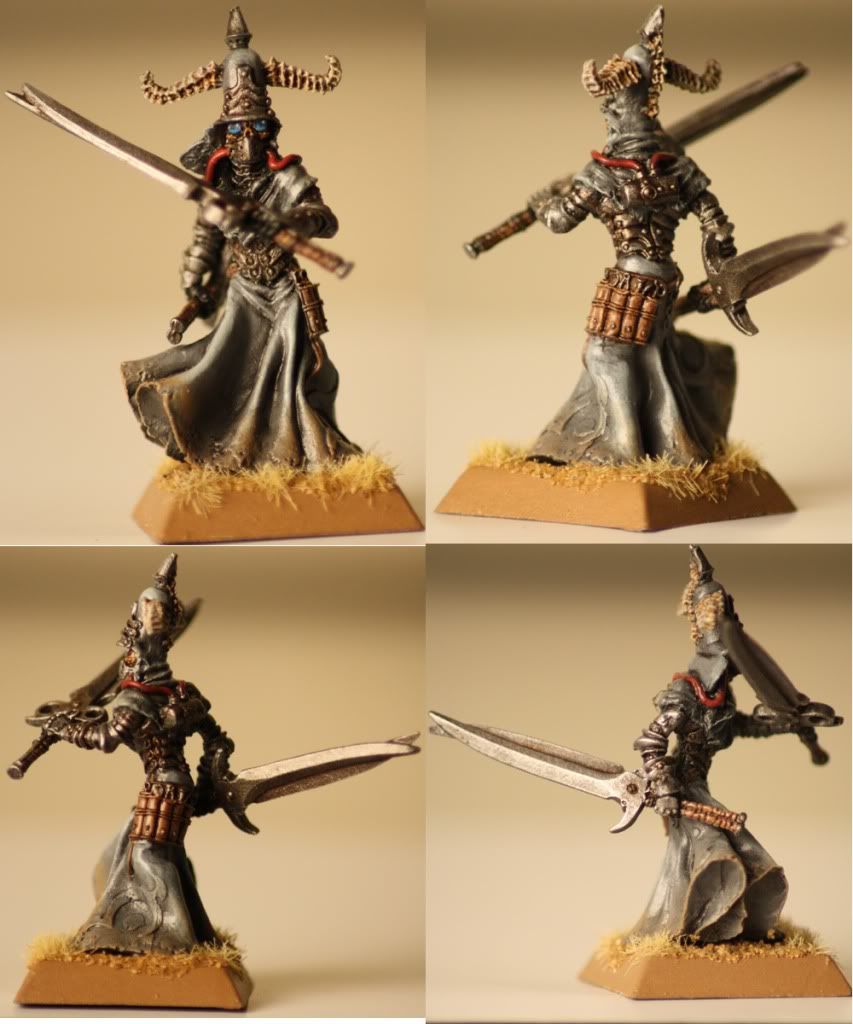
I posted this tactica up on www.roundtable-bretonnia.org about 3-4 months ago. Since I'm trying to showcase my army painting and progression I felt it appropriate to post up here too. I've put together some of the units I use and a few tactical points to go with them. This is just my take on building lists with what I have available and like to use. I don't presume that these combos can handle every situation either. Just thought someone might be interested in seeing how I use the army. Maybe this will help some beginners, maybe not.
My thoughts on bretonnia...
The first thing I like to do when getting into a new list is get a feel for the tactics of the army. The big three being; shooting, magic, and close combat. The real gems in my opinion are the lists that can mix all three aspects. For bretonnians we are blessed with a solid choice in all three. This gives us a lot of flexibility when building a list and opens up more tactical options than some other army books have available. I believe that mixed lists that can capitalize on every phase are the best lists. If you have no magic, then you have no magic defense. If you have no shooting then you are forced to race across the battlefield to minimize casualties. If you are poor in close combat, well that's going to break any army. Magic is a bit too random and power dice are too limited to make an all magic list. All shooting armies are at a disadvantage now with the increase in movement (no march blocking, larger charge distances). All combat lists can be effective but may suffer from big nasty spells and artillery fire, and your opponent forcing you to come to them. Any two of the big three can be combined to make a solid list, I prefer to try and mix all three.
When selecting units to use I first think about what their primary role will be, what they will excel at. Then I think of a secondary role, something they will have moderate success with. When looking through the entries in the book it quickly becomes apparent that in order to excel at anything a lot of our units need specialized characters to join them. They may also require other units to support them. Some of my units and combinations:
The horde anvil of men at arms. I like to take a big unit of men at arms with their starting equipment. Their primary role is to be an anvil for my hammer units. Their secondary role is to be a steadfast breaker. I add a paladin with crown of command (for stubborn), and a damsel with the prayer icon of quenelles (wissans and blessing). The stubborn allows me to form up as a horde without needing to rely on steadfast. Horde formation increases my frontage and number of ranks attacking without compromising their primary role. The damsel adds magic resistance, a ward save and the beast signature spell for increased toughness and strength, all help my role. The formation also allows me to place my damsel on the corner of the front rank, this means she will hurt me less if she blows up, and she will most likely be out of base contact with the enemy, increasing her survivability. The unit champion and paladin are both available to accept challenges to save her as well. My secondary role of steadfast breaker can easily be achieved in combat with a combat reform, or out of combat with swift reform. This can be pretty situational but the option to go ten ranks deep is something I like to have available.
Groups of twenty archers. Their primary role is to shoot the advancing enemy, and with their long range they will be forcing the enemy to move. Their secondary role is flanking. I like to give them flaming attacks and a musician. I've thought about adding banners and most likely will very soon. These guys deploy ten wide and two ranks, this really maximizes their line of stakes and depending on the terrain can be very beneficial to your overall strategy. The flaming attacks are handy when "painting" targets for your trebuchets. I find that units designated to take these guys out are generally small but very mobile. That is where swift reforming into a five wide four deep facing the enemy (with standard) gives you a static 4 combat resolution and you can still stand and shoot. Against small groups of fast cavalry or fliers this can be enough to keep them at bay. Against a bigger combat unit these archers will die fast but then I will be happy my opponent is dedicating so much resources to take them out. A lot of games merge into melee fests quickly, reducing the archer's ability to shoot, and standing around is a waste of points. This is when it's time to swift reform into five by four and flank the enemy. You will want to stick to flanks only as it reduces incoming damage, and certainly avoid anything that will seriously shred you (multiple attacks) as it will end up giving your opponent more combat res than you get from flanking. But I like having a use for my archers after the shooting game is over.
Lance of knights errant. Their primary role is to hammer monsters and other tough targets. Their secondary role is hammering everything else. I give these youngsters the errantry banner, added strength (and fluff) is nice. In order to make them more controllable I add a paladin with a monster slaying set up (their are plenty of examples in the stickies). He will be more suited to sustained killing while the knights add the big punch on the charge. I try to avoid putting important characters in this unit due to the fickle nature of the impetuous. So no generals, damsels or battle standard bearers. Just hard hitting killing action. They will pick out the nasty targets and hit em hard. They can ignore psychology on the charge too which is no where near as good as it used to be but still nice in certain situations (the enemies they will be facing typically cause fear/terror). As a secondary role these guys will act as a standard hammer unit, hitting enemies that are tied up with anvil units, or combo charging with other hammer units.
Lance of knights of the realm. Their primary role is a hammer unit that adds a lot of static combat resolution. Their secondary role keeping my army from routing. This is where I like to put my battle standard bearer. I give him virtue of duty and the enchanted shield. I like the shield on him because it add so much armor given he can't have a shield normally. The unit itself has a war banner, and I like to have twelve total for three ranks. That's seven static combat resolution before charging and flank/rear. The knights themselves can dish out some nice damage on the charge, with the static res you should win the first round. The problem will be breaking steadfast. If my lance's ranks can't break the steadfast after expected kills then I have a good chance of continuing to win combat on resolution alone, giving me time to combat reform my anvil unit into a long ranks deep formation and subsequently breaking the steadfast on the second round. Another option these knights have on the second round when used in combination with a ranks deep anvil is to reform six wide. You will still count ranks from your anvil and you now can use all of your knight's attacks, another benefit is reducing your flank size. The secondary role of this unit is to provide the all important battle standard bearer radius of influence. This unit will go where leadership is needed most in conjunction with performing it's primary role.
Small squadron of pegasus knights. Their primary role is to fly behind enemy lines and take out or tie up artillery and lone wizards. Their secondary role is to rear and flank charge engaged enemies. These guys can take a beating from missile fire with skirmishing, higher toughness and multiple wounds. They get across the battlefield really quick too, they vanguard and fly. At most your opponent should have one turn to shoot at them. These guys achieve their primary goal weather they make it to the enemy or get shot to hell. If my opponent spends all his shooting efforts on my pegs then the rest of my army is free to close the distance. I like to give these guys a musician but no standard bearer. I find that the standard is rarely ever needed to win the combats I put them in, and the risk of breaking and loosing the flag is too many points to justify. The musician helps to rally if needed, and war machines don't have musicians giving the pegs the advantage in the event of a tie. A nice security blanket if you roll badly. The real beauty with these guys is that when they finish performing their primary task they are perfectly lined up to flank and rear charge the enemy.
Five mounted yeomen. Their primary role is to pull enemies out of formation thus exposing flanks. Their secondary role is to harass enemy flanks by shooting and threatening to charge. I give these guys a shield and a musician. The shield is there to add armor so they don't die as quickly to arrow fire. The musician for the rally bonus as these guys will primarily be doing feigned flight maneuvers. The tactic has been explained in many articles. For those unfamiliar you move up and position yourself in a way that when your target charges you his flanks will be exposed to the rest of your army. You opt to flee and if done correctly he will have no one to redirect to and is forced to complete the charge. On the following turn your yeomen will hopefully rally and continue about their business. Since so many people will see this for what it is you will rarely be able to capitalize on it (unless your enemy is frenzied). That brings us to their secondary role of harasser. Stay on the flanks or behind enemy lines and shoot when you can. These guys are also great at chasing down fleeing enemies, or coming in on the flank or rear charge. As a bonus they can even charge and destroy artillery, or at least tie it up a bit.
Lance of grail knights. Their primary role is to bodyguard my prophetess. Their secondary role is to provide magical and flaming melee attacks where needed, in flanks/rear. I go for a musician and standard bearer with banner of eternal flame on these guys. The prophetess is a life wizard to minimize miscasts, regrow units, heal other characters/peg knights, and blast baddies with dwelers below. She also provides my main magic defense with dispel scroll or mirror and level four (magic resistance for the grails as well). The ability to accept challenges with every knight is a big benefit since the only way to kill the prophetess in close combat would be a challenge (she hides in the middle). She also benefits the look out sir rule so she can't be easily kill by missile fire. Aside from just keeping her alive this unit also packs magical and flaming attacks to bear against ethereal or regenerating units. The beauty is their high initiative, they hit with flame before our other units strike, thus removing regeneration.
The king of battle; the trebuchet. Primary role is to decimate elite enemy units and monsters. Secondary role is to decimate everything else. Easily the single most devastating thing in our army, the field trebuchet can put serious hurt on enemies. If facing armies that have really big nasty creatures that my army can't handle I turn to the trebuchet to try can take them out. The center of the blast template is enough to kill almost anything in one hit. If it regenerates just soften it up with flaming arrows first. Another important use is killing enemy elites. They will slice our infantry/cavalry up in melee, but if you can wipe out a lot of them with a trebuchet shot it can equalize the fight before it starts. Added bonuses include; the enemy will pay a lot of points for those elites, this thing will almost always cause a panic check.

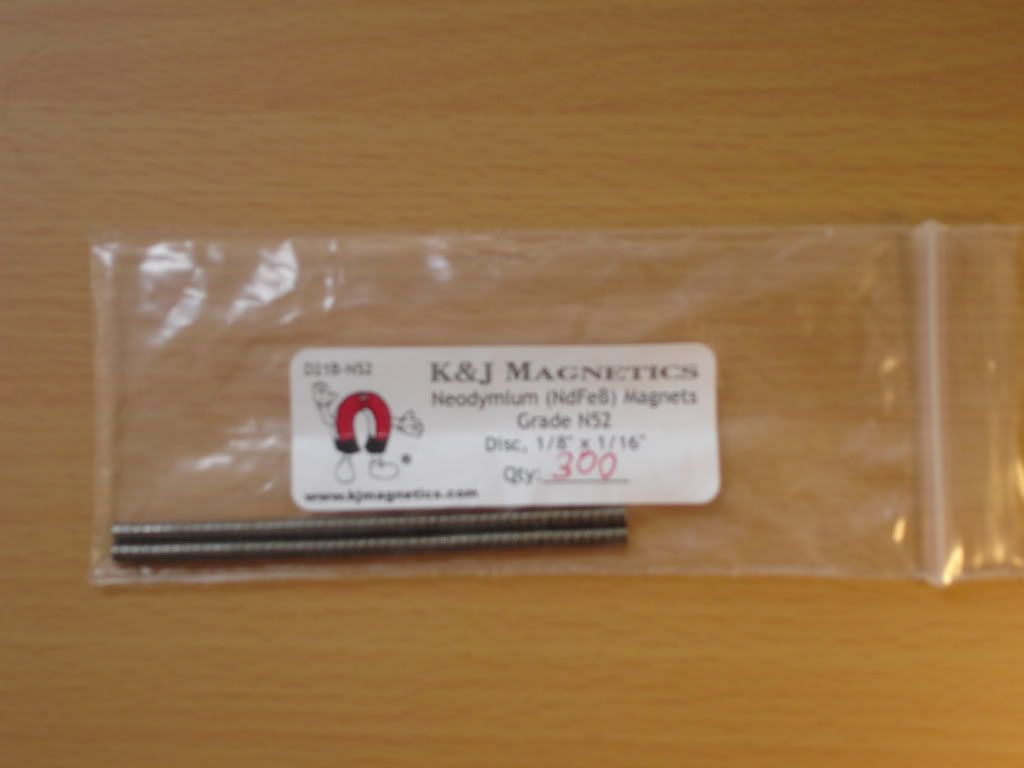
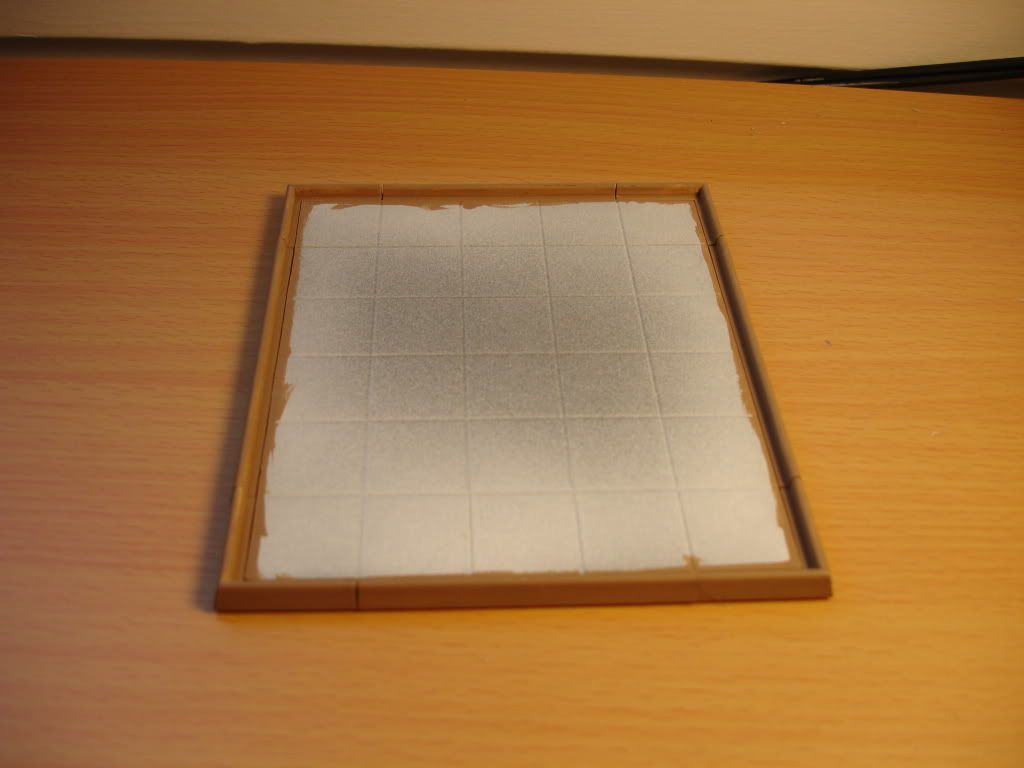
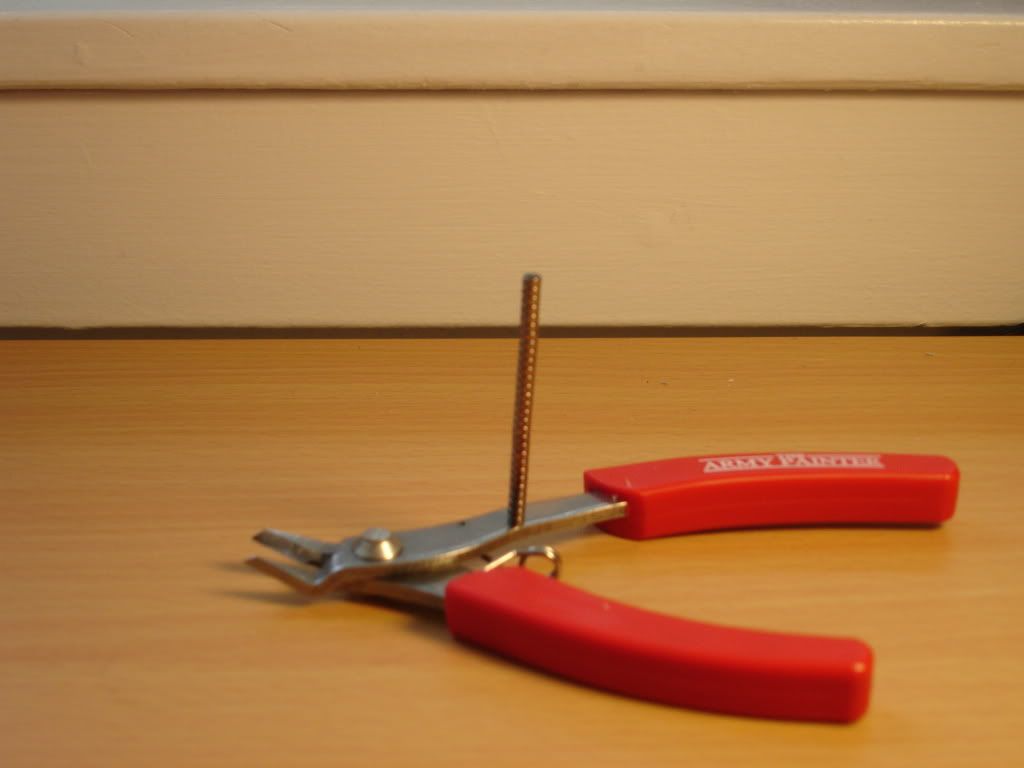
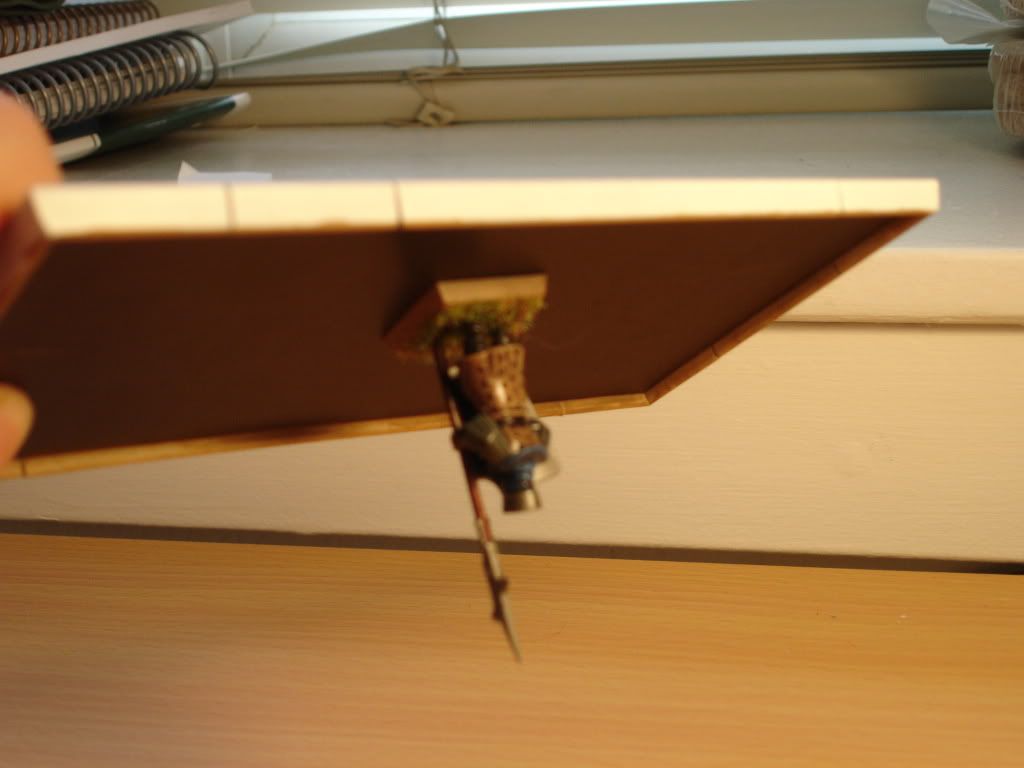
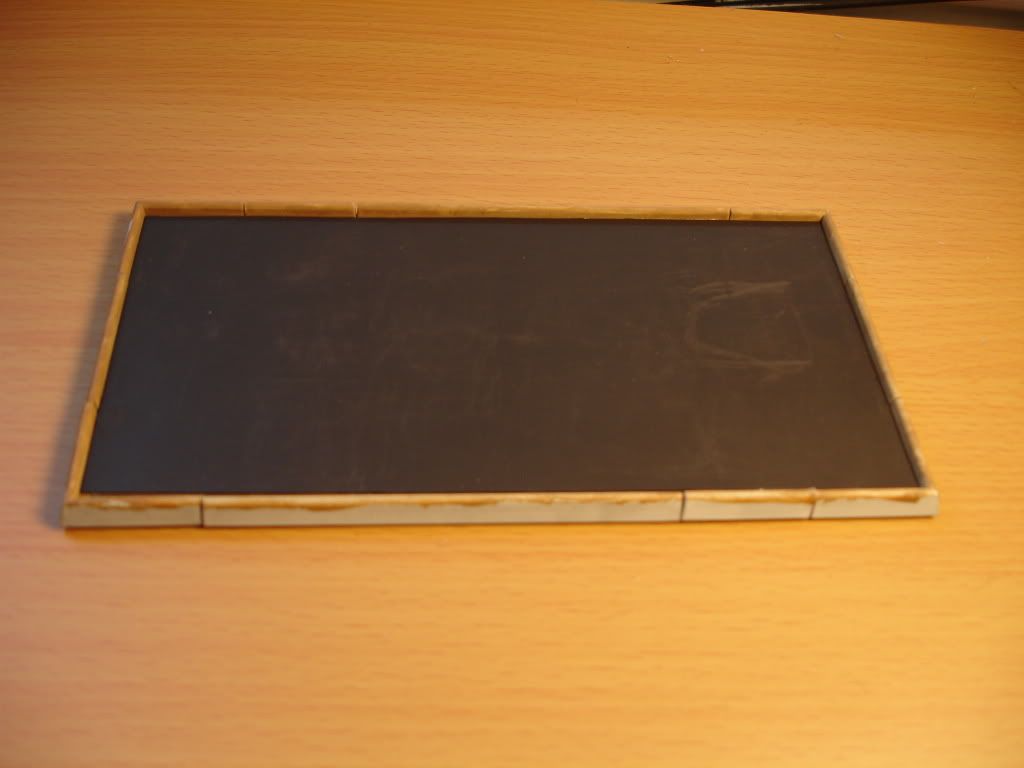 One of the many benefits of magnetizing your models comes from games like warhammer fantasy where you will use a large formation of plastic miniatures. They seem to get knocked over when bumped or shake and fall off of your movement tray while you are moving them around. Even a loose sleeve brushing the top of your unit while you grab your dice can disrupt the flow of a game. Here is how we fix the problem. Take your movement tray, primer and paint the edges how you will like them to look, then cut a piece of magnet to fit it. Spread some glue on the tray and set the magnet in. I like to use a large miniature base to flatten the magnet out while the glue is drying. Also, I find that using regular super glue works pretty well. Stay away from the elmers type glues, they take too long to dry and squeeze too much excess out from under the magnet. Another tip; make sure the magnet part is facing up.